Okay, so one of my BFF’s has created an IG page for her food creations (YAY!!!) and I’m totally inspired by her.
She always has had the best ideas for food creations and takes the prettiest pictures of her creations.
Oh, and she’s vegetarian for those of you who need veg inspirations (and a lot of her food is Whole30 approved…so yay for me right now).
Recently she posted about making sushi at home and made it look so tasty and easy that I decided to try some myself and it was a TOTAL win for our house.
However, we are doing Whole30 right now and this is not Whole30 approved (because, rice…). But if you aren’t doing Whole30 and LOVEEEEE sushi like I do, I highly recommend trying this.
Let me preface this by saying that you can do SO many variations of sushi, but my husband has a shellfish allergy, so I decided to do spicy salmon rolls to accommodate him. The best way to make this roll is to try and find sushi-grade salmon (yes, it’s a thing) at your local meat market or grocery store, I was not so lucky. So I had to cure it myself to reach sushi-grade.
What I’ve learned about sushi is yes, most of what you eat is raw, but it is cured in salt and/or sugar, which makes it safe for you to consume. The curing process takes about an hour and a half, so if you have to cure it yourself at home but are SERIOUSLY craving it, plan accordingly. 🙂
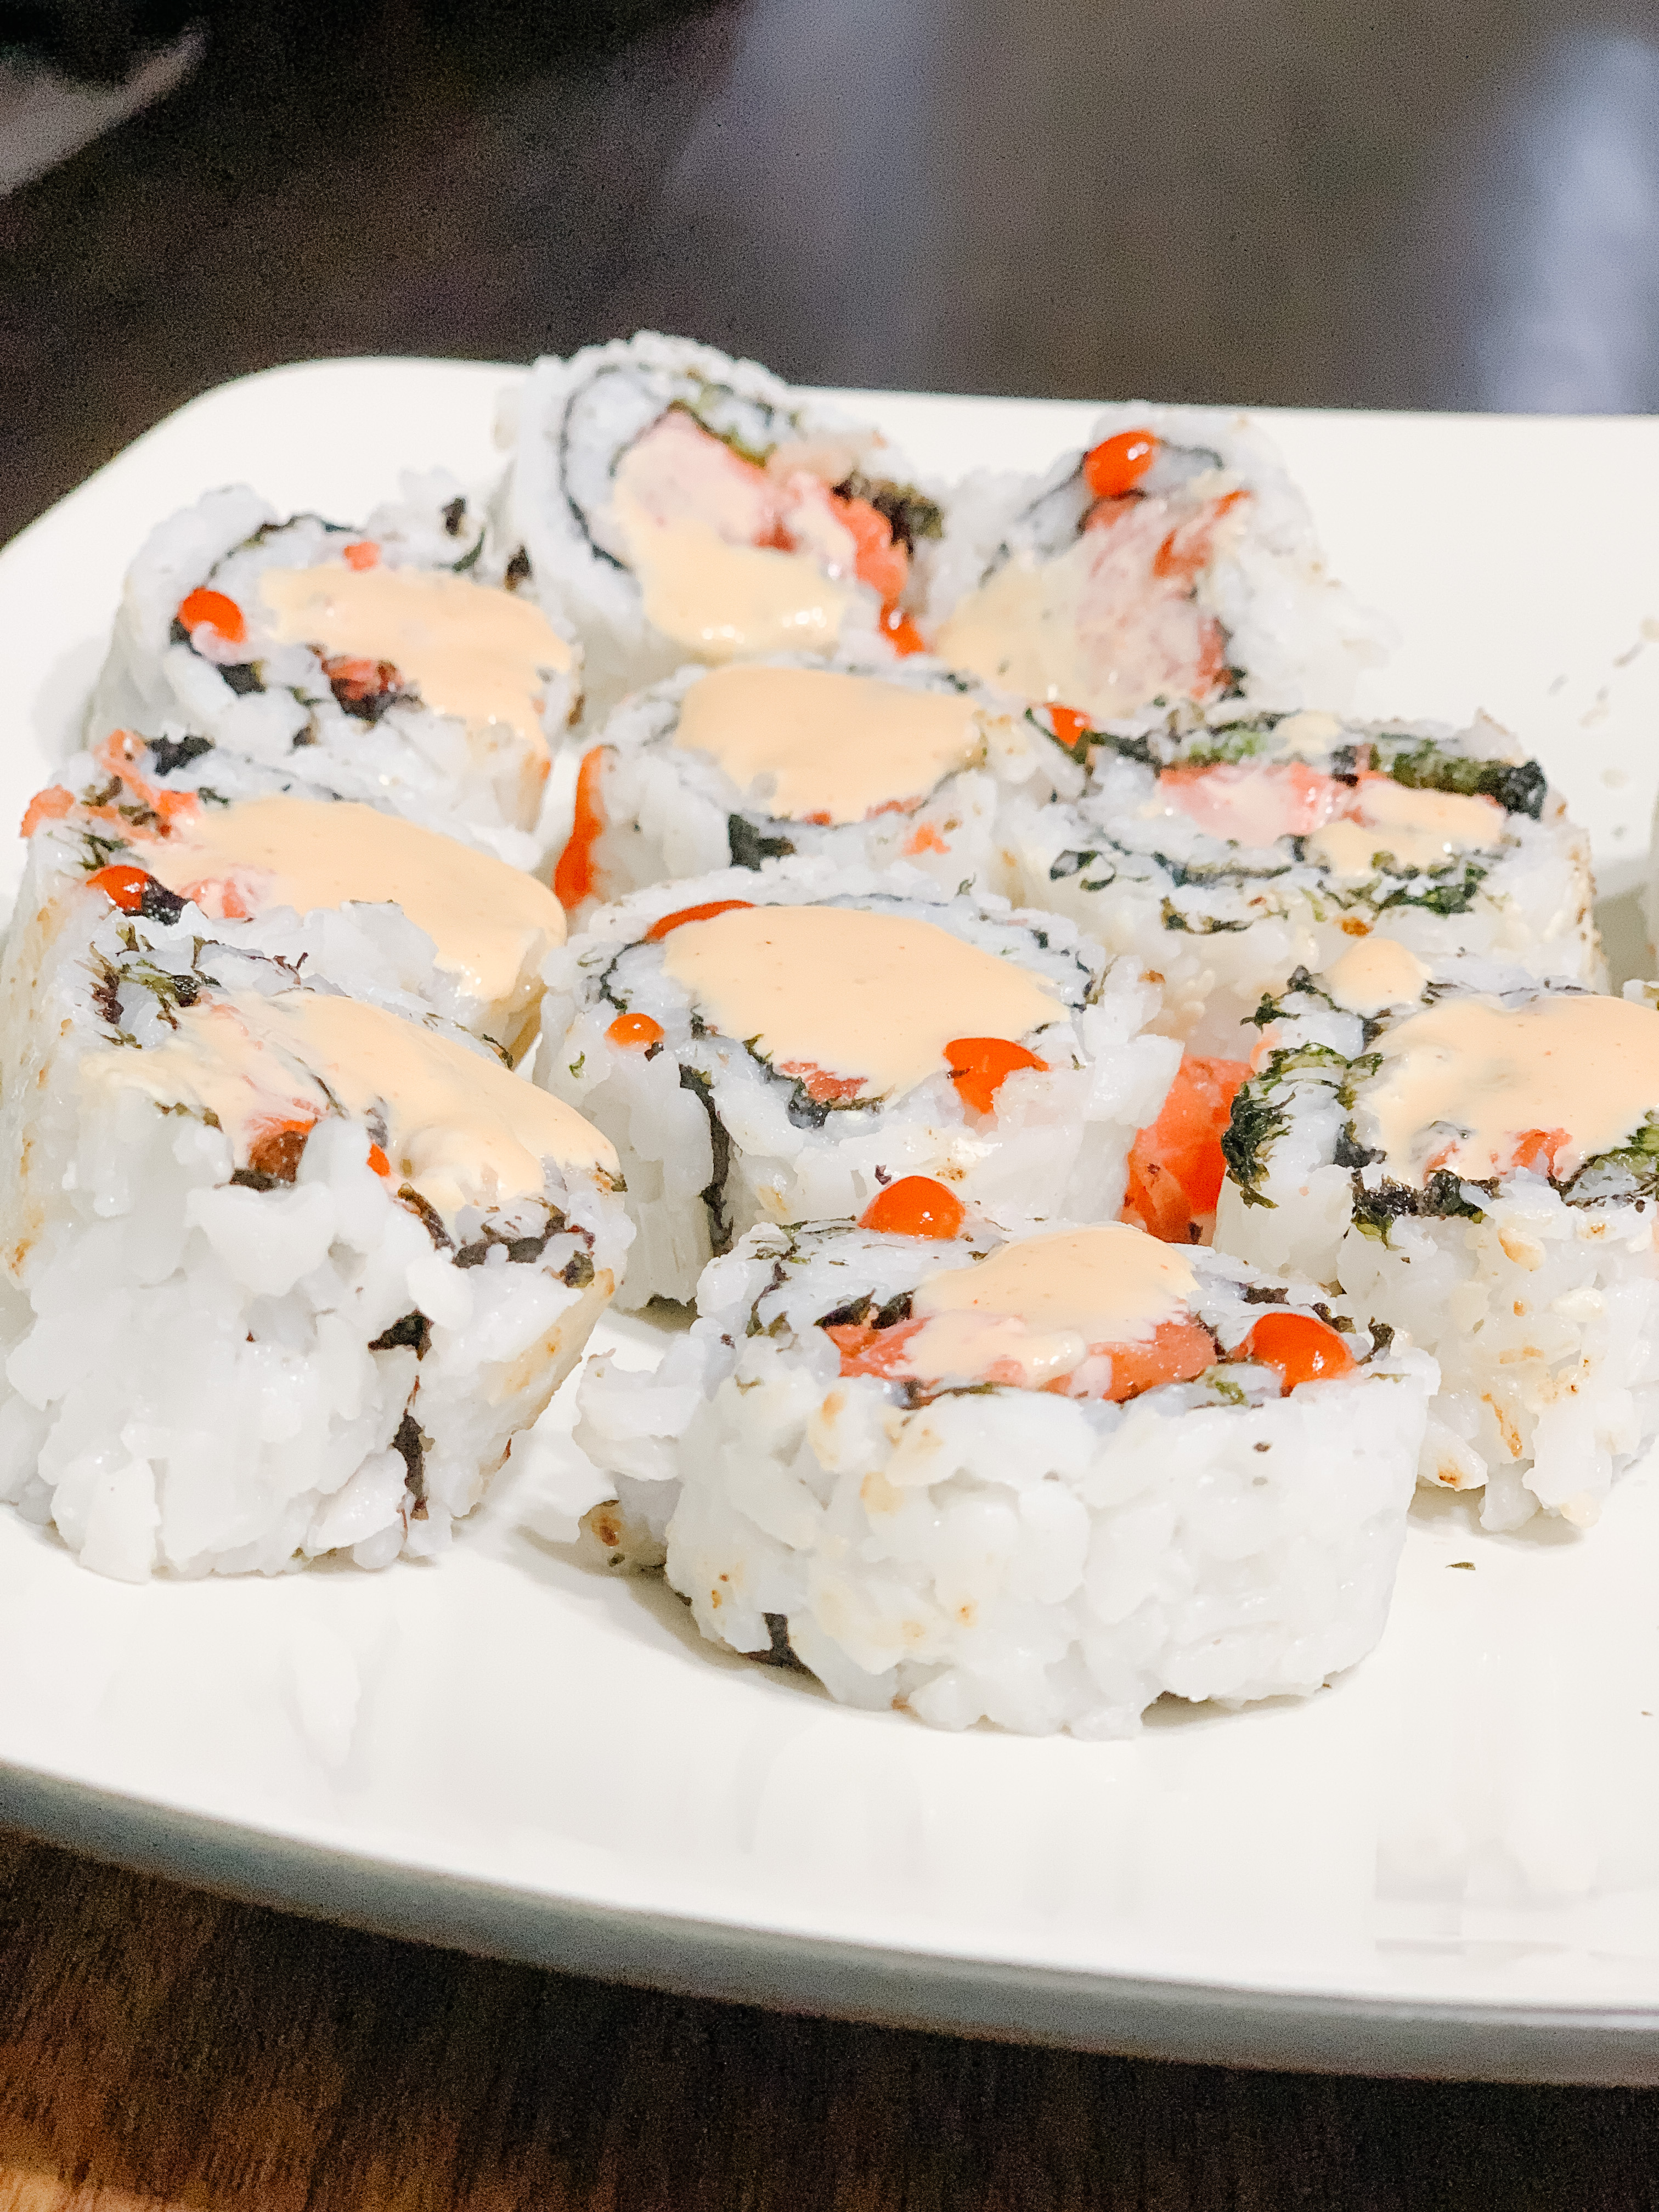
So without further ado, here’s my at-home spicy salmon sushi roll.
Spicy Salmon Rolls
Ingredients:
- 6 oz sushi-grade salmon (see bottom for curing instructions if you are doing it at home)
- short-grain sushi rice (most packages of rice will instruct you how to make it sushi ready)
- Nori sheets
- Sriracha
- Yum-yum sauce (optional)
Directions:
- On a piece of parchment paper or rice mat, lay your nori down and cover with a thin layer of sushi rice.If you prefer your rice on the outside, reverse this method, but get as close to the size of your nori as possible.
- On one end of the rice, lay thin slices of salmon, drizzle with sriracha
- Use the tuck and roll method to roll your sushi, then slice into medallions
- Drizzle the medallions with more sriracha and yum-yum sauce.
- Serve with soy sauce.
Curing your salmon for sushi-grade:
Use a 3:1 mixture of salt and sugar with the zest of 1 lemon mixed in and sprinkle over your salmon filet on both sides.
Let it cure for 1.5 hours.
Your salmon will turn red and liquid will form around it, so don’t be alarmed! That’s supposed to happen. 🙂
Once the time is up, rinse your salmon with cool water and pat it dry.
Slice it up and turn it into sushi!